Rhodes 19 Parts Categories & Listings
RHODES 19 PARTS CATEGORIES & Listings
DOCUMENTS & AWARDS
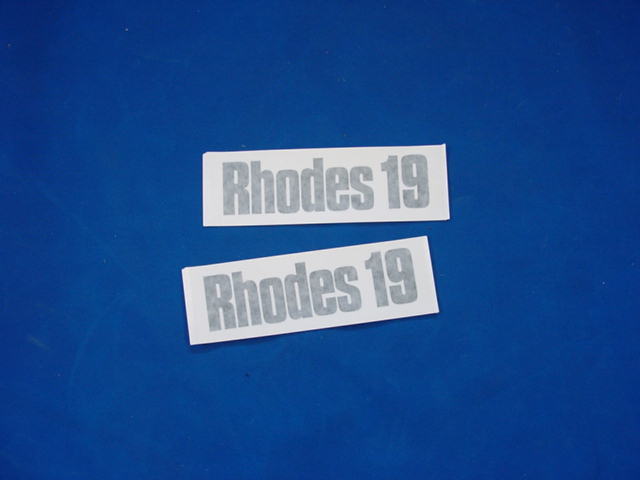
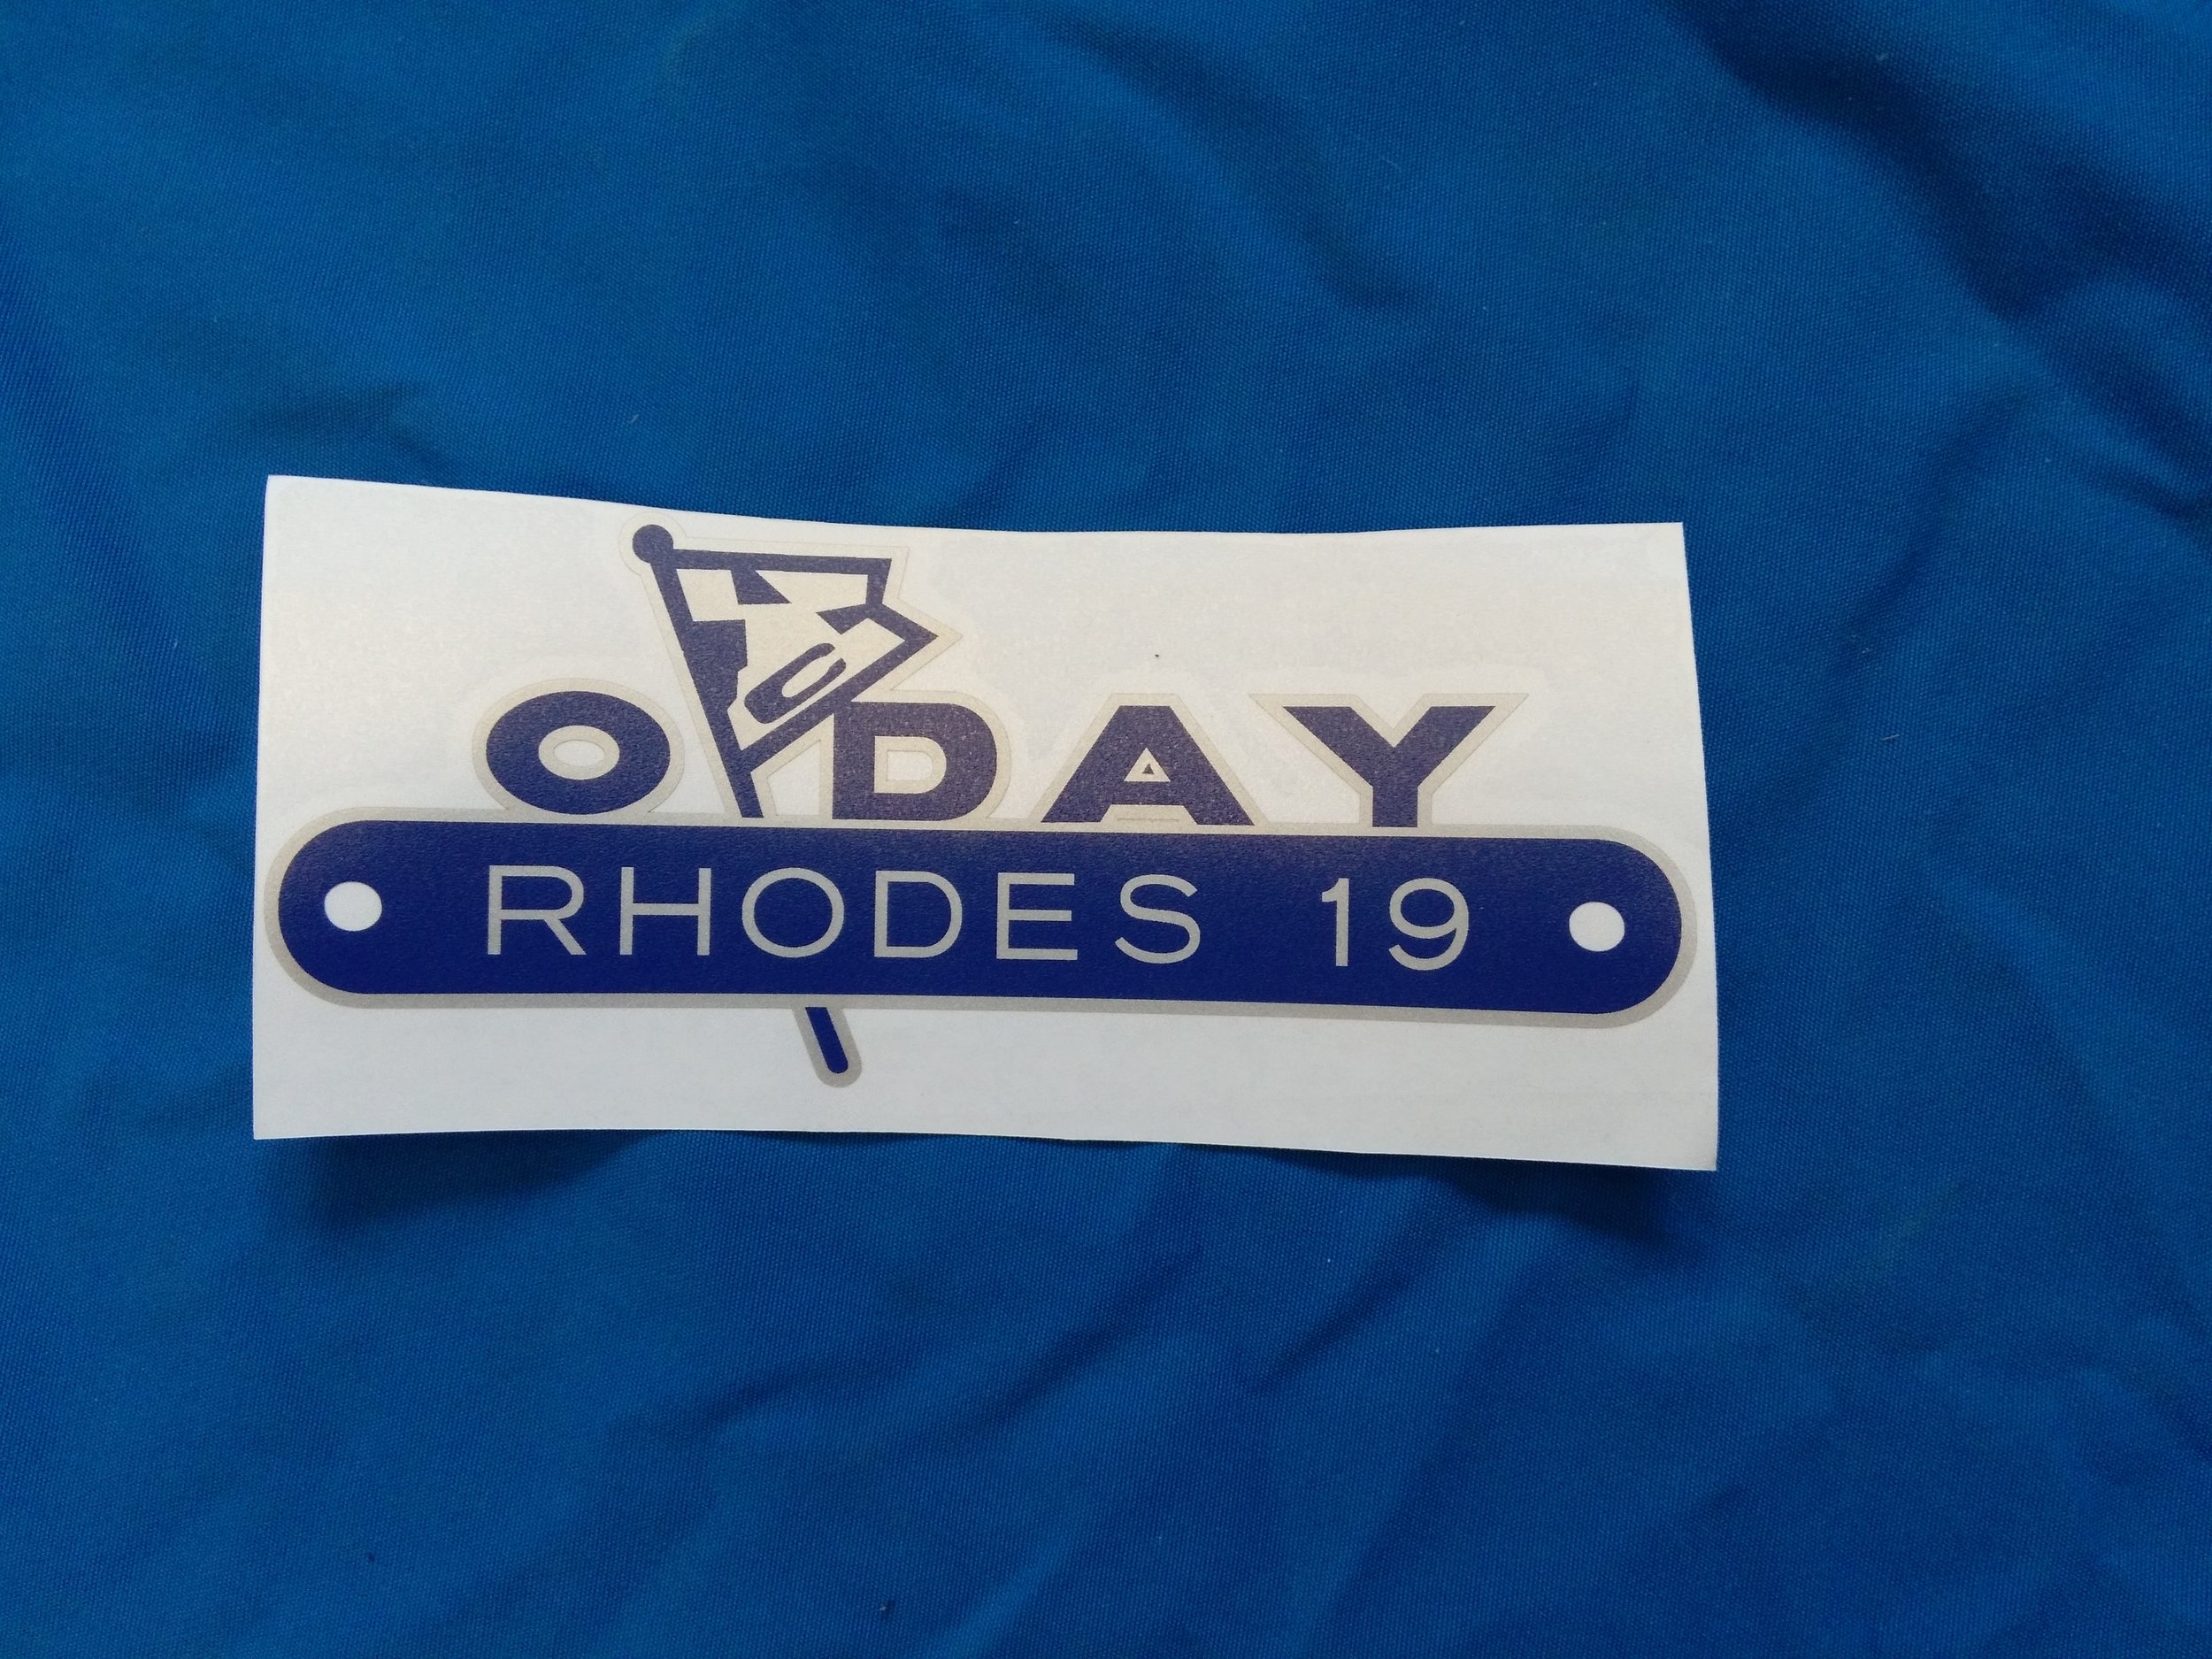
Measures approximately 3-1/2" x 8-1/2"
3M marine grade vinyl
Available printed information which may include copies of year specific sales brochures, owner's manuals & rigging instructions. The Owner's Packet is comprised of copies of the original paperwork which may have accompanied and documented your Mariner sailboat at the time of her original purchase.
Peel the back layer of vinyl from the decal so the back and sticky side of the letters is exposed.
Position the decal onto the hull.
Use the squeegee to press the decal onto the hull surface.
Peel the paper layer from the top side of the decal exposing the front side of the letters.
Used the squeegee to press the decal onto the hull surface again.
Measures approximately 3-1/2" x 8-1/2"
3M marine grade vinyl
Available printed information which may include copies of year specific sales brochures, owner's manuals & rigging instructions. The Owner's Packet is comprised of copies of the original paperwork which may have accompanied and documented your Stuart 9 rowing dinghy at the time of her original purchase.
Available printed information which may include copies of year specific sales brochures, owner's manuals & rigging instructions. The Owner's Packet is comprised of copies of the original paperwork which may have accompanied and documented your Stuart 9 rowing dinghy at the time of her original purchase.
Peel the back layer of vinyl from the decal so the back and sticky side of the letters is exposed.
Position the decal onto the hull.
Use the squeegee to press the decal onto the hull surface.
Peel the paper layer from the top side of the decal exposing the front side of the letters.
Use the squeegee to press the decal onto the hull surface again.
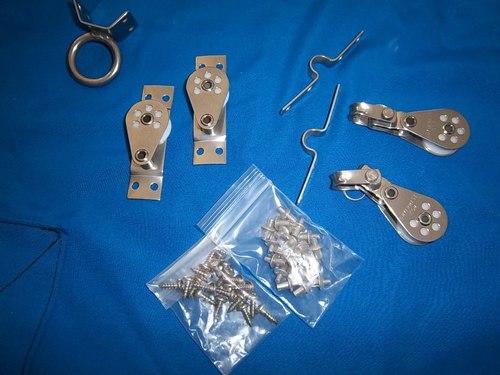
Includes Mainsheet Swivler, Mainsheet Block, and Boom Block
Includes Jib Sheeting Track, Jib Sheeting End Caps, Jib Sheet Sliding Blocks, Jib Sheet Swiveling Cams, and Jib Sheet Line
Removable V-berth Installation
1. Remove the compression post if it has been previously installed
2. Rough fit all three v-berth panels, resting them on the forward half bulkhead and the longitudinal upper teak slats of the port and starboard storage bins. Trim the three panels as necessary to create one level and flat surface – the two aft removable panels will fit first, then fit the single forward fixed panel
3. Install the two butt hinges on the forward edge of the forward fixed panel. Measure in 6” towards the centerline from the outboard edges of the panel. Install the hinges against the forward crash bulkhead.
4. Install the two 8” teak support cleats on the forward sides of the centerboard trunk cap
5. Install the two 6” teak support cleats on the forward faces of the seat boxes
6. Avoid interference with the three panels and the trunk cap, bilge pump, and battery box
7. Use silicone sealant as a bedding compound for increased bonding between the cleats and hinges and the fiberglass surfaces.
Reinforces the rudder head with marine mahogany plywood cheeks and provides the proper dimensioning for the upper and lower pintle installations.
Reinforces the rudder head with mahogany cheeks and provides the proper dimensioning for the upper and lower pintle installations.
The c/b pennant line for winch (winch line) wraps around the large drum on the O'day winch. You must pull the winch line to rotate the winch drum which will wrap the centerboard pennant cable around the winch spindle.
Directions for C/B Pennant Cable Installation
- Install the centerboard pennant cable inside and through the spindle wall in the winch assembly so that the swaged ball and end of the pennant cable is captured inside the spindle cylinder.
- Feed the centerboard pennant cable down through the hole in the top of the centerboard trunk cap, along the side of the centerboard, and next to the aft end of the centerboard.
- Tightly loop the pennant cable end twice through the hole in the trailing edge of the centerboard.
- Slide the pennant cable end into and through the included compression sleeve so that at least 1/2" of the pennant cable sticks out past the compression sleeve end.
- Squeeze and compress the fitting securely with a Nicro Press tool or a pair of Vise Grip pliers.
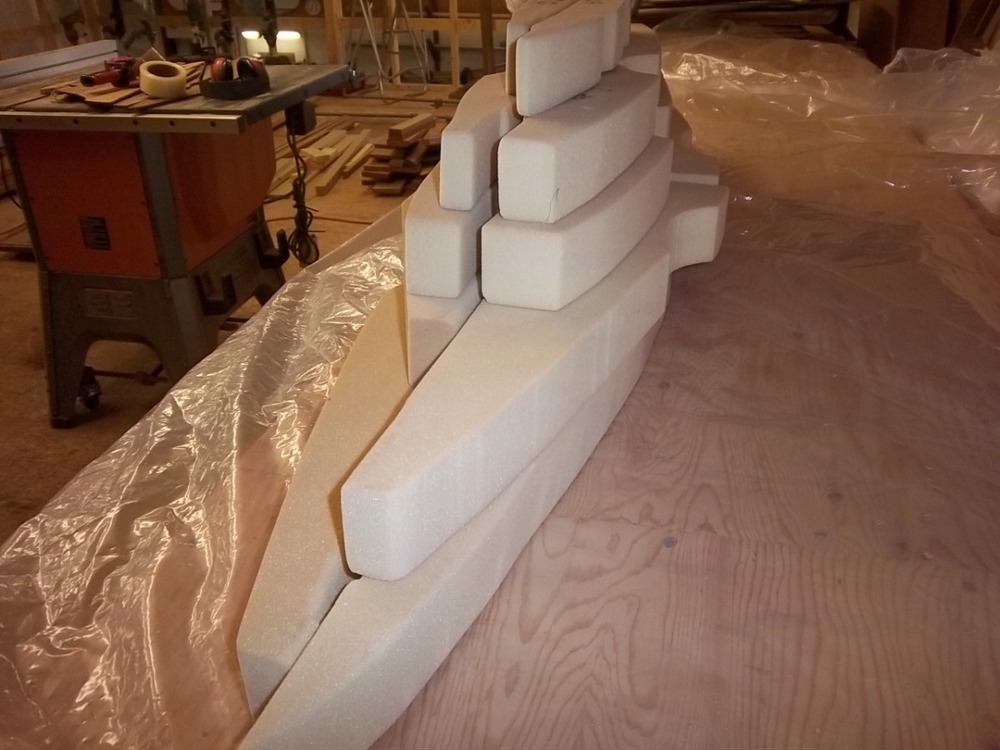
13015.010 Keel Oak Floor Timber Kit (12-timbers)
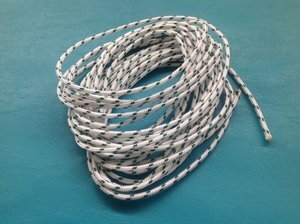
Order 1 Set for a Centerboard Sailboat (includes 12 lines measuring 6’ x 3/16”)
Order 2 Sets for a Fixed Keel Sailboat (includes 12 lines measuring 12’ x 3/16”)
Installation instructions:
Position the sail feed slot cover over the sail feed slot so that the sail slides will travel down the length of the luff slot in the mast without slipping out of the sail feed slot.
Drill for the enclosed #8 self-tapping screws with a 9/64" drill bit.
MARINER CUSTOM BRIDLE
This is a hand-made custom bridle, tailored especially for the Mariner. Only the finest and strongest materials have been used. They are completely resistant to sea water. The nylon can be mildly affected by sunlight, though an identical bridle is still quite serviceable after more than 6,000 hours exposure to direct. sun. The bridle will fit ANY Mariner. It is stronger than the usual wire bridle, has no sharp protrusions to damage sails or cut hands. The bridle will also balance without the mast.
The Mariner, equipped, weighs under 1,600 lb. Thus the four points of the bridle lift an average of 400 lb. each, in normal use. With 200 gal. ot. water in the bilge, the numbers are double. The bridle WILL lift your boat under this condition, but obviously, water should be drained. The small shackles have a rating of 1,10.0 lb, working, 20,500 lb. yie]d.. The 4" snaps are rated ät 5,.000 1b. The 1/2" nylon at 3,750 lb., with six-tuck splices, still, 3,150 lb.
Before you use your bridle, please CHECK the chain plates and see that they are not loose or improperly fastened to the hull. Also check the quarter cleats (corners of stern) and make sure they are backed with wood or moulded in, as well as through-bolted.
The bridle has two parts: the shorter piece with shackles and snaps, goes forward; the longer one - all-nylon goes aft.
Before attempting to use the bridle, you must: Carefully remove the fasteners from each after chain plate and replace them with the 3/16" shackles that come with the bridle. Insert the shackles to hold both the chain plate and the shroud turnbuckle end, with the "U" of the shackle facing aft, and the thread-end of the shackle outboard. Tighten the shackle pin with pliers; and CHECK it for tightness occasionally.
Fasten the 4" snaps to each shackle, with the snapper UP. The forward part of your bridle should be OVER your boom, if the boom: is aboard. Place the eye of the bridle on the lift-hook, with the point of the hook facing APT.
Cleat the after part of the bridle to each quarter cleat on the stern. Be sure to cleat securely, with the bitter end of the line THROUGH the eye of the cleat. It will fit. The blue circumferential mark on the bridle should be in the eye of the: cleat. This is important to obtain proper BALANCE of your boat on the lift. Place the eye of the after bridle on the lift-hook over the eye of the forward bridle. Now, your Mariner is ready to lift safely..
I suggest you stow the bridle INSIDE the boat, and not expose . it to continuous sunlight. Occasionally check the shackle pins for tightness. Be sure to fasten the 4" with the snapper UP. When lifting, check first for 'snags' of tiller, main sheet, hatch moulding, .jib.sheet, etc. With a 'magic-marker' re-mark the blue ring on the after portion of the bridle occasionally.
Copyright © Information provided by renowned NJ Mariner sailor, Sam Streep, 1986
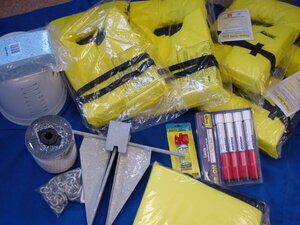
USCG Safety Pack includes coastal safety equipment for four adults:
anchor - Danforth type
anchor chain
1/4” shackle (2)
Type 2 adult life vest (4)
safety throw cushion
safety paddle
plastic pail w/ pour
boat bailer sponge
hand held flares
signal horn
safety kit bag
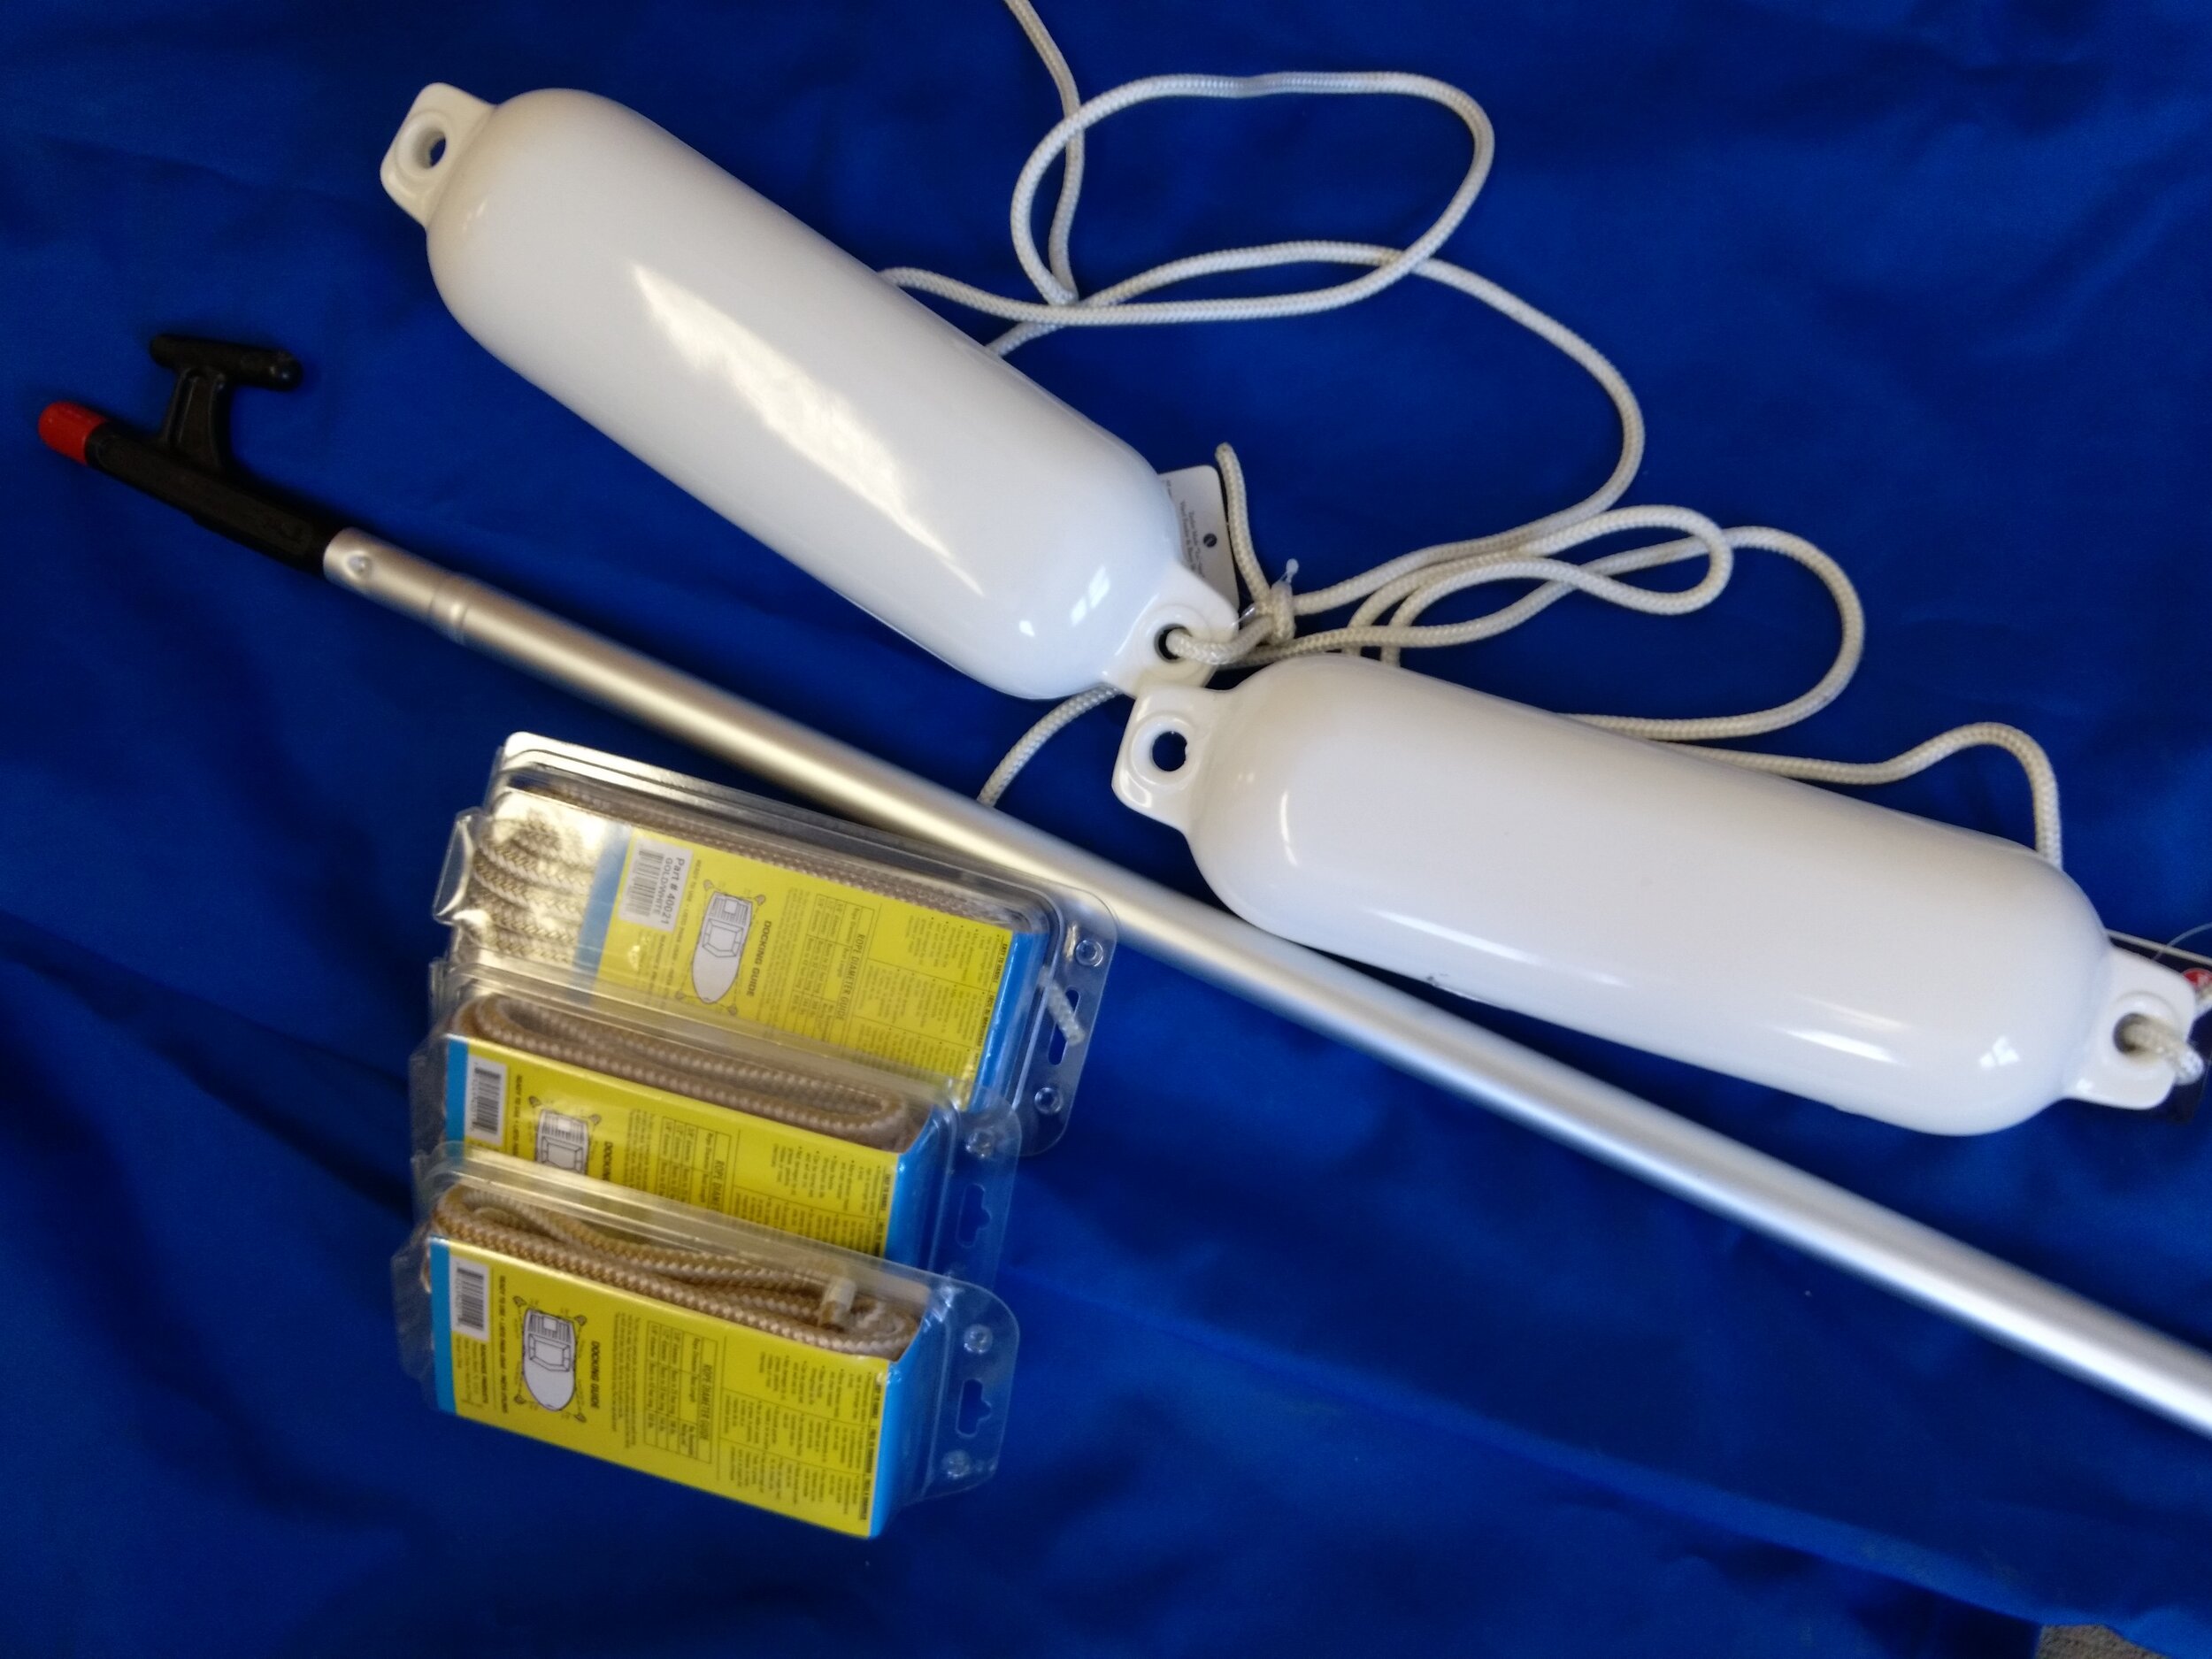
Docking Tie-up kit includes:
boat bumpers / fenders with line (2)
docking lines (2)
spring line
telescoping boat hook













Available printed information which may include copies of year specific sales brochures, owner's manuals & rigging instructions. The Owner's Packet is comprised of copies of the original paperwork which may have accompanied and documented your Rhodes 19 sailboat at the time of her original purchase.